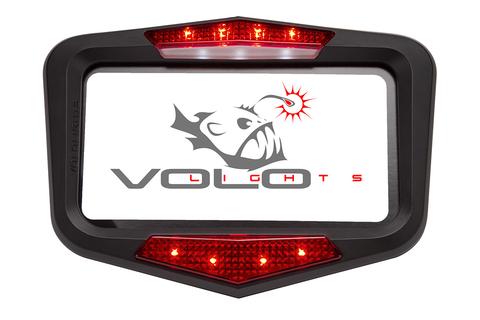
Kawasaki Concours
This installation describes how to install Vololights on a Kawasaki Concours. Kawasaki provides a 12V source under the seat for accessories that is used to power Vololights.
- Author: Faizal Ali
- Time estimate: 30 minutes
- Difficulty: Moderate
Step 1 — Optional parts 
-
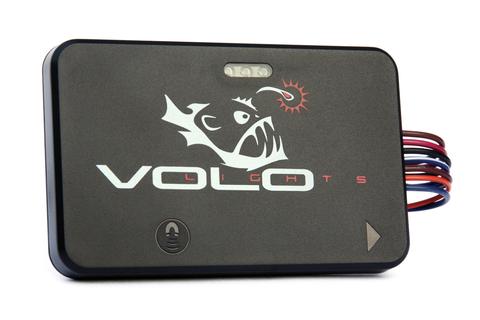
Vololights are shipped with the connectors needed. Optionally, bullet connectors can also be used to connect directly to the connector provided by Kawasaki with no modification to the factory wiring.
-
The bullet connectors are available at electronic hobby shop or autoshop. It is also available online.
-
In this installation, wires are routed within the rear wheel well. We recommend adding shrink tube or other wire sleeving method.
Step 4 — Routing the wires 
-
Remove the license plate ilumination cover by loosening the screws cover.
-
Two screws also needs to be removed from inside the fender. (Near the rear wheel)
-
Route the Vololights wires following the existing license plate illumination wires to the 12V accessories wires under the seat uncovered in previous steps.


0 Comments
Add a commentNo comments.